Test Your Flute Here
YOUR FLUTE IS A MACHINE!!
The flute is literally a well oiled machine. Use this step-by-step guide to check your flute after servicing or to see if your flute needs servicing. Click on pictures to enlarge.

Visual Inspection
Take a moment and visually inspect your flute. It should be nice and shiny with no new dents, dings, or scratches. Also check the key heights. Are all the keys evenly sitting above their tone holes?

Tenon Check
Check the tenon connections from the headjoint to the body and the body to the footjoint as you put your flute together. These joints shouldn't be so loose that they move on their own. It also shouldn't take so much force to slide joints together. Their connections should be "snug."
Let's test each key
As we run through checking each key keep these things in mind:
- Keep the fingers as light to the touch as possible.
- Is there a sudden change in timbre or color as you press a key? Does one note sound airy compared to another?
- Does the key press down with your desired amount of tension?
- Trill it! Does the key move freely? Do both notes come out solid? Are there any clicking or sticking sounds?
- Move slow! As a key is pressed down there should be absolutely no pause or silence between notes no matter how slow.
- Check multiple octaves.

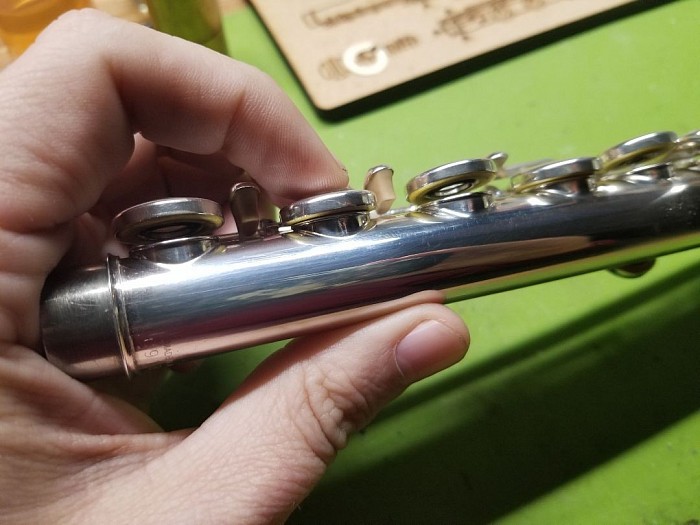
B Lever
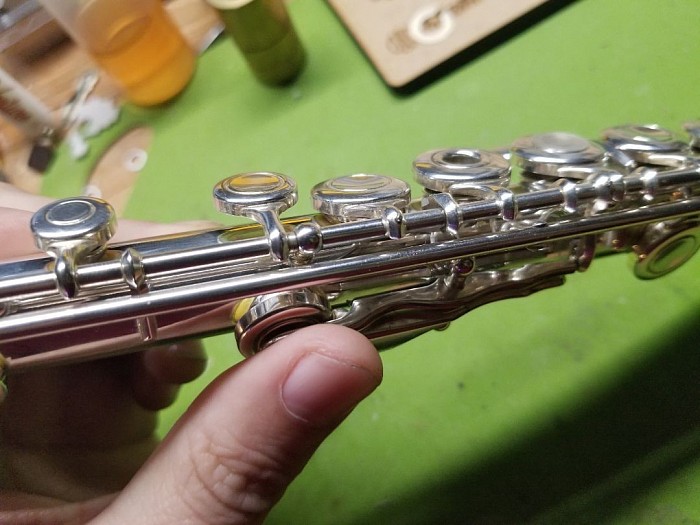
A#/Bb Thumb Connection
F Key for Long Bb
Bb, B, & C
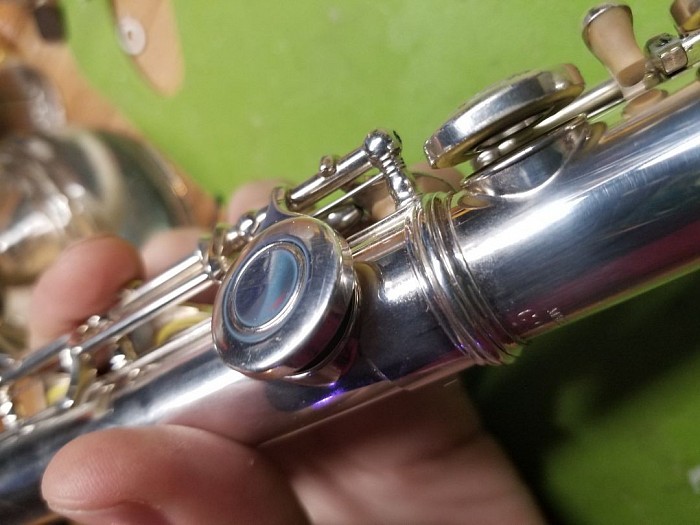
First we will check the lever Bb. The photo of this key is above on the left. (Click to enlarge.) The lever is a direct connection to the the A# key in the left hand section. Check for all the things listed previously; move slowly then fast by trilling.
Thumb Keys. Now check out the single and double thumb keys. Notice any clicking? Is the tension ok?
Take a listen to long Bb. This checks several connections, listen carefully.
Now try the left hand pointy finger C key. Trill from C to C#.
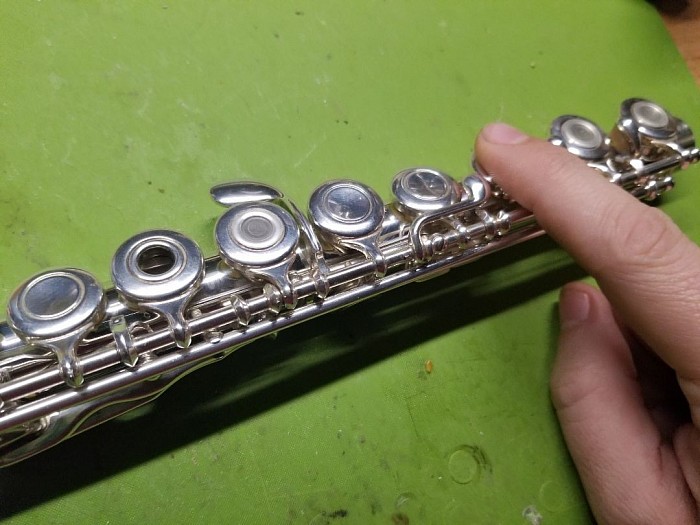
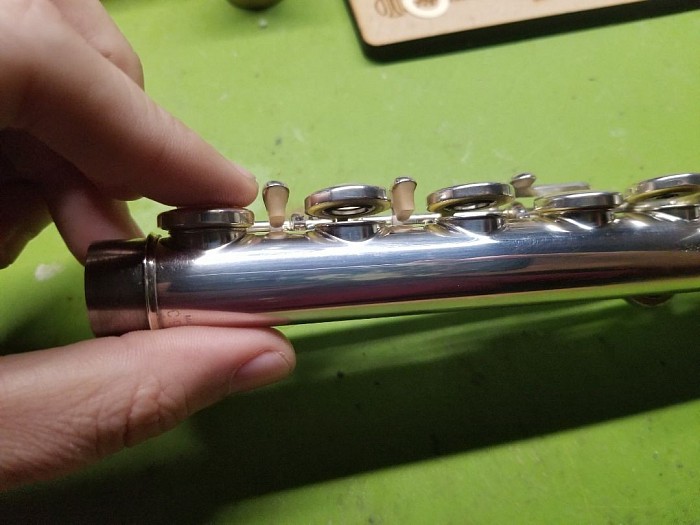
A & A# Key
A
Check your A key! Take a good look too at some of these dependent keys. The A and A# key move together by pressing the A key. Therefore the A# key is dependent on the A key. Just by looking you should be able to see that they move together and the two pads seal at the same time.

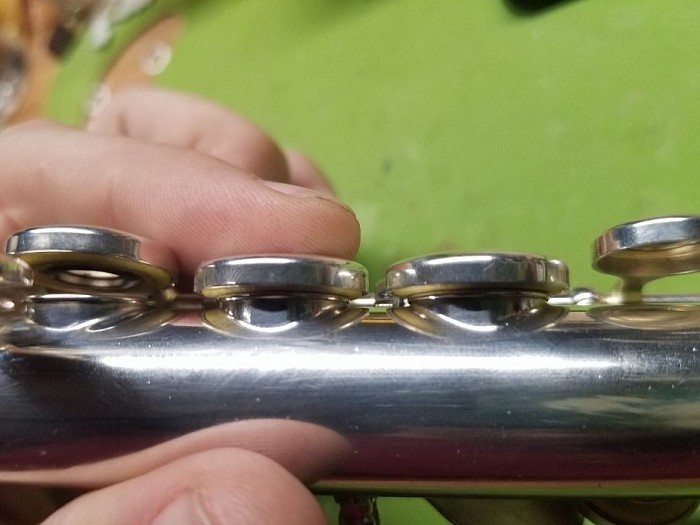
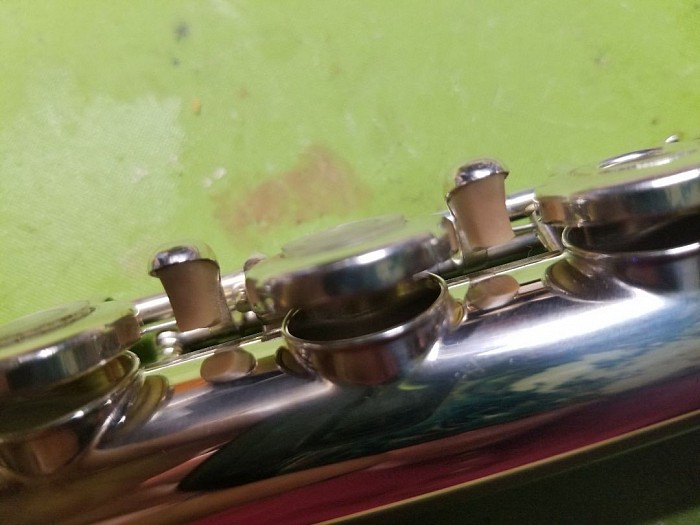
G keys
G
The G key actually consists of two keys that close together. They are called the G up and G down keys. The G up key is the key that is pressed. This key can be a challenge for the flute tech... double check it!!
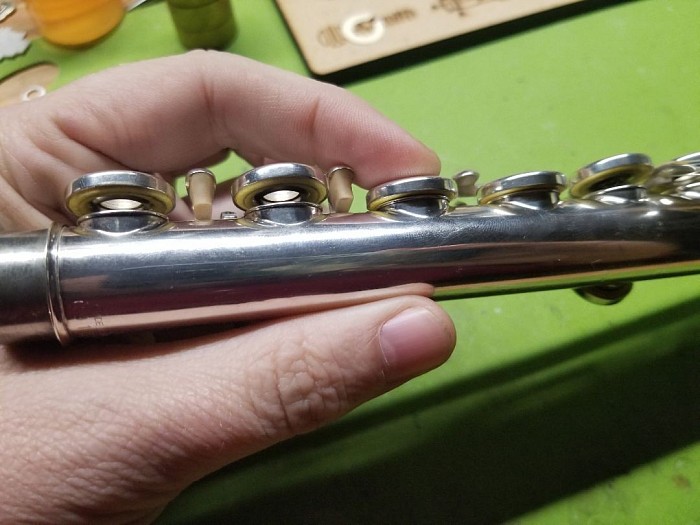
The F & F# Key
The E and F# Key
The D and F# Key
F and F#, the Right Hand.
The right hand keys, like all keys, must not leak so low notes will play. Take care to use both middle and ring finger F# to test those keys. Don't forget to be testing in multiple octaves. (Click photos to enlarge.)
Trill Keys
Ab Key
Eb Key
Trill Keys, Ab, Eb
These keys all sit closed. Make sure the tension is not too much for you on these keys.
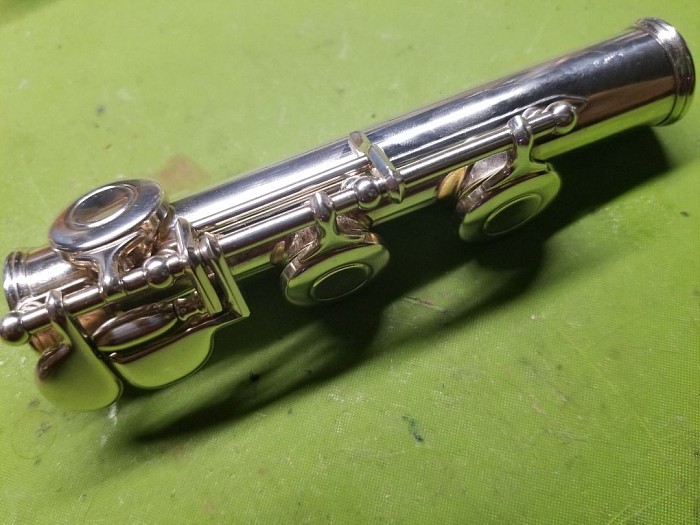
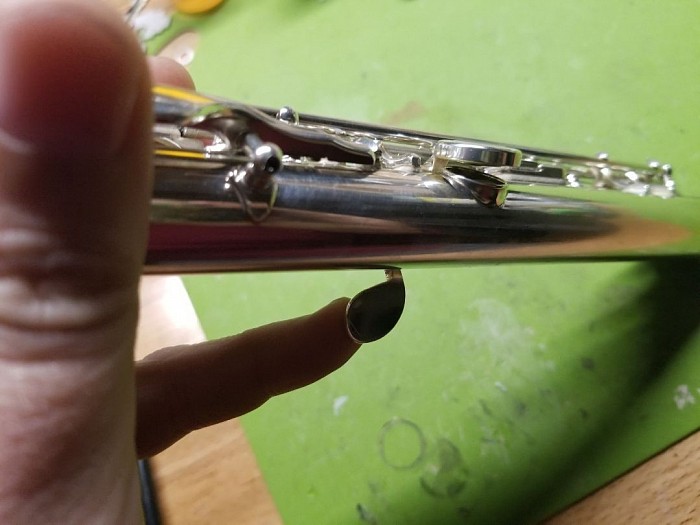
The Footjoint. Eb, Db, C, & B
Play some soft low footjoint notes and then belt them out. Place your pinky on the C roller so that you don't press down at all on the Db key. Does the C still play?
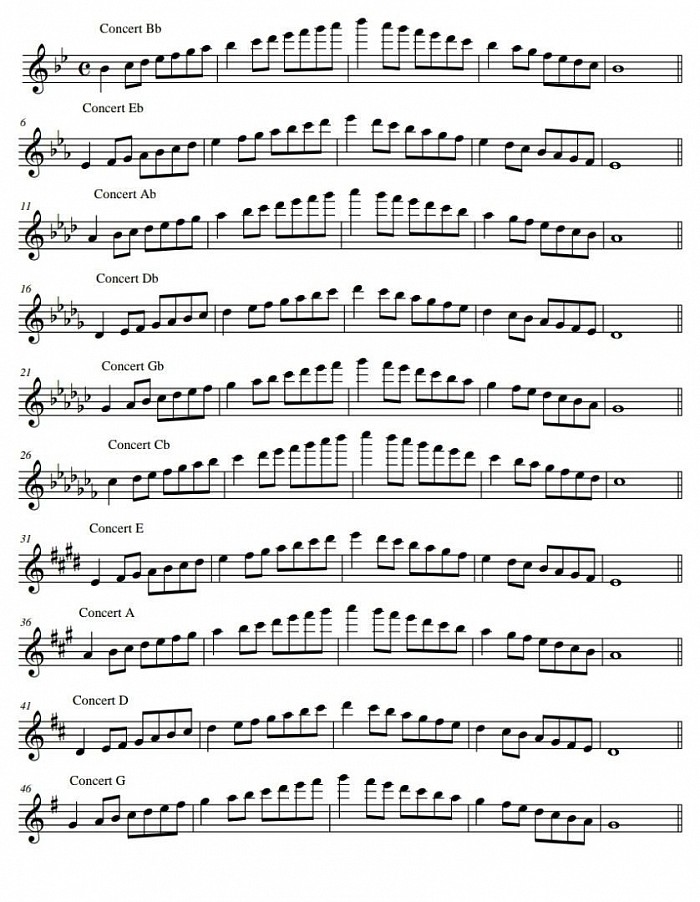
Scales
Play some regular old classic scales to get used to your newly improved flute. If something sounds off, go back and try to find which specific key is responsible.
After your scales play some familiar flute music (click photos to englarge):
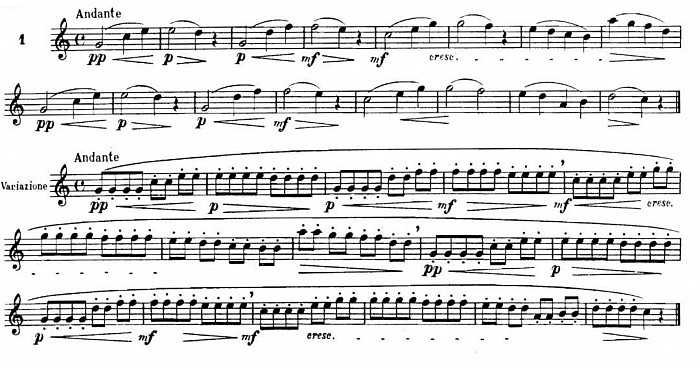
Marcel Moyse Melody #1

Berbiguer Study #1

Debussy: Syrinx
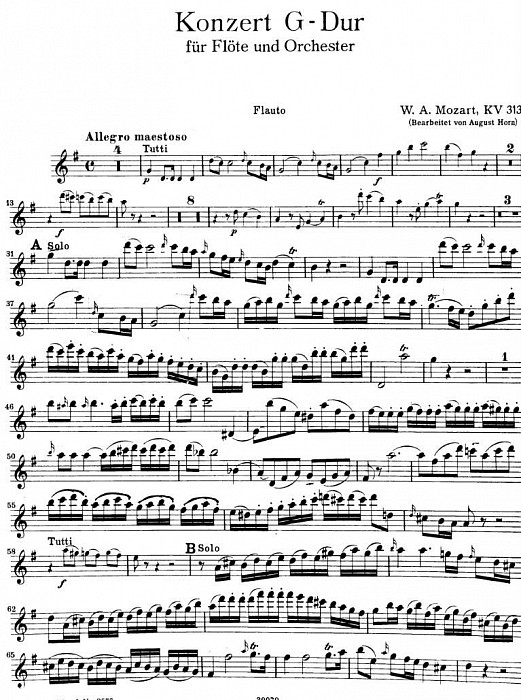
Mozart Flute Concerto in G
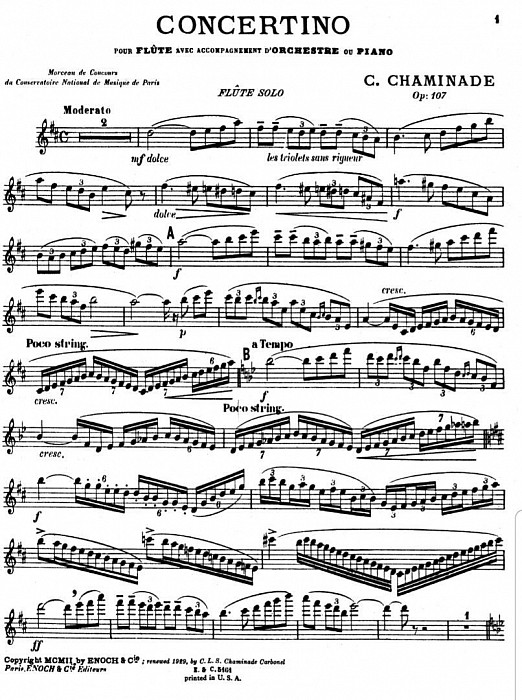
Chaminade Concertino

Carnival of the Animals
